Nextcloud: receive files securely
When your contacts wish to send you large files (> 25mo), sending by email is no longer possible. Then use Nextcloud by creating an accessible folder for the upload.
In the following scenario, the goal is simply to share a folder where your contacts can upload files of any size. Each uploaded file is scanned by an antivirus before it is made available.
Select an email address you want to use with Nextcloud.
Any email address linked to your domain is valid. If you haven't yet created an email address, just do it via the Plesk interface – see the Plesk guide on this subject
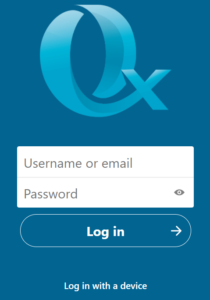
1. Once the desired email address is known (as well as its password), connect to our Nextcloud platform, available on https://own.cloudox.ch .
2. Use the desired email address in the first “Username or email” field, and the corresponding password in the second “Password” field.
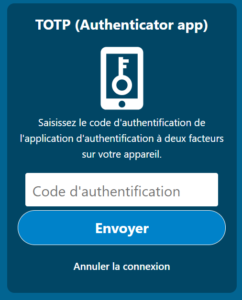
3. If two-factor authentication is enabled for your account, you will be prompted for the code. This option is strongly recommended – follow the Nextcloud official documentation for setting up two-factor authentication.
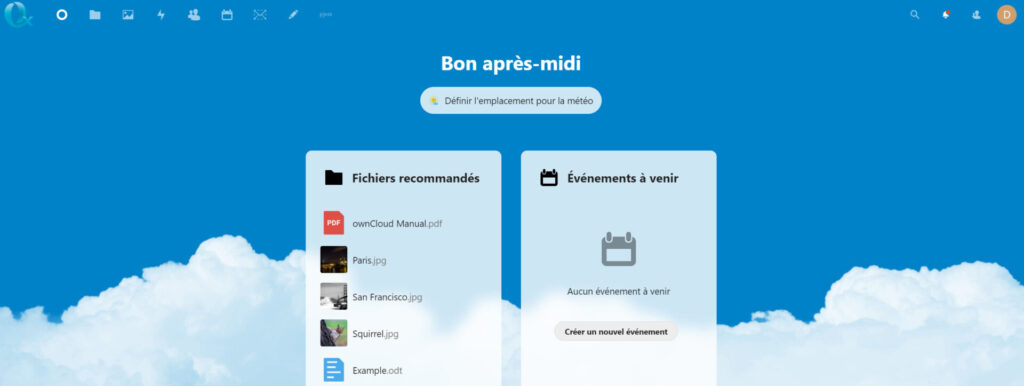
4. Once authentication is successfully completed, the dashboard is displayed.
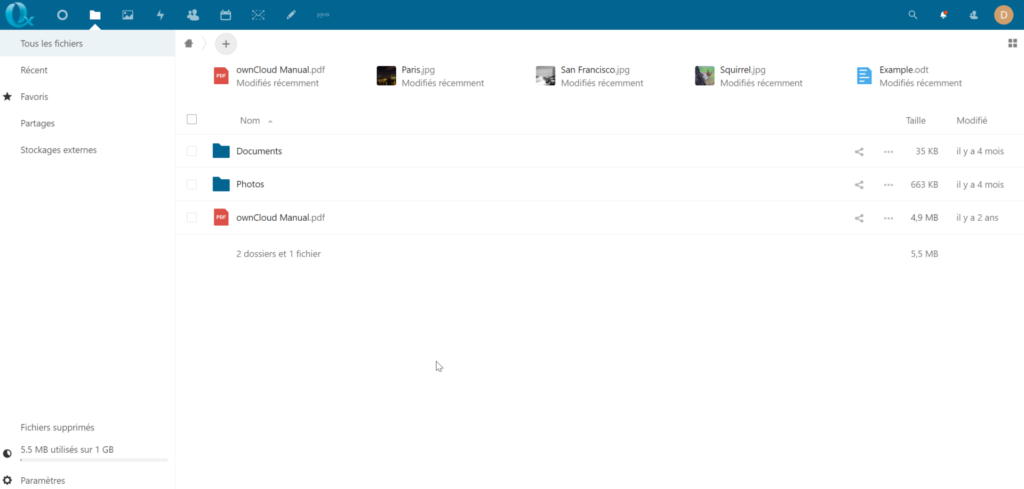
5. In the main menu, click on the “Files” menu

6. The list of your files and folders is displayed
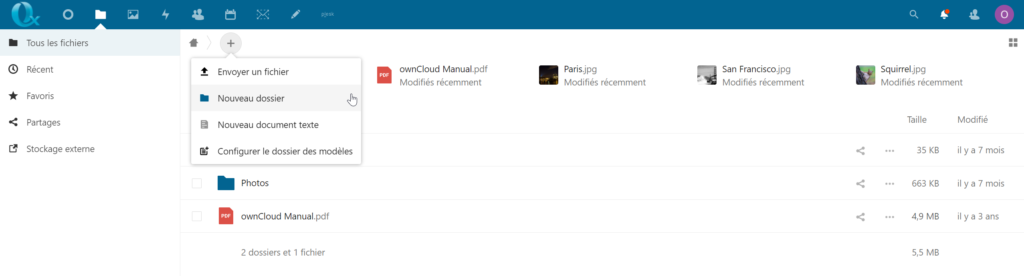
7. Click on the “+” icon and then on “New folder”
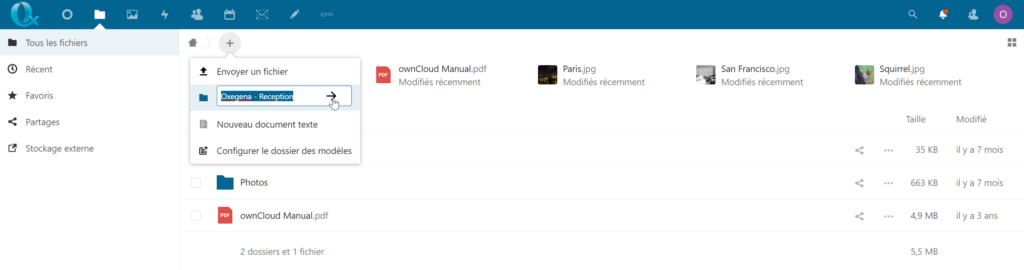
8. Enter a name for this new folder, “Oxegena – Reception” in our example, and click on the icon with an arrow
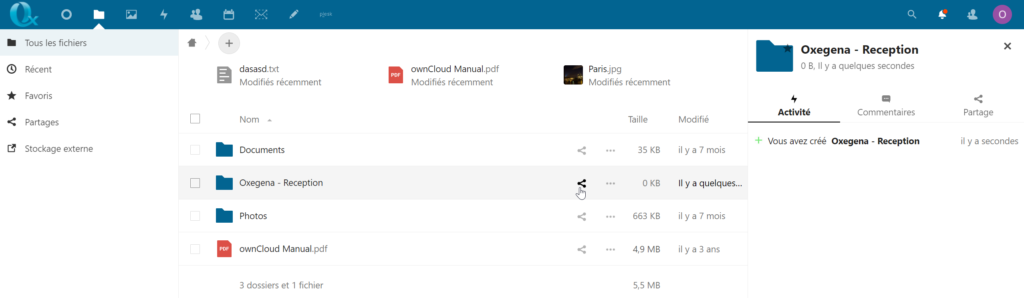
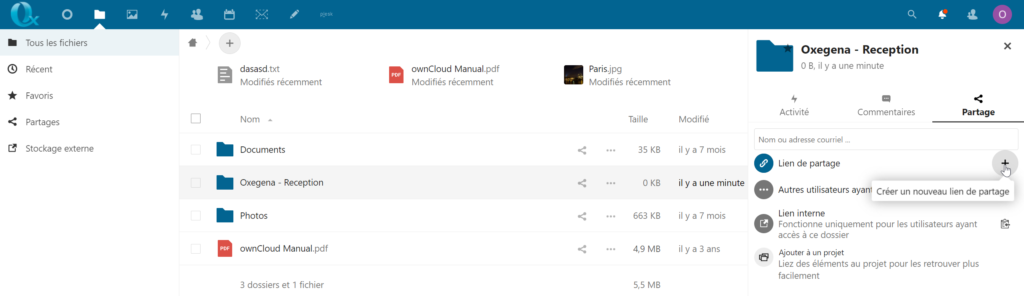
9. The new folder appears in the list of your files, click on the share icon at the level of this new folder
10. Click on the icon for creating a new sharing link
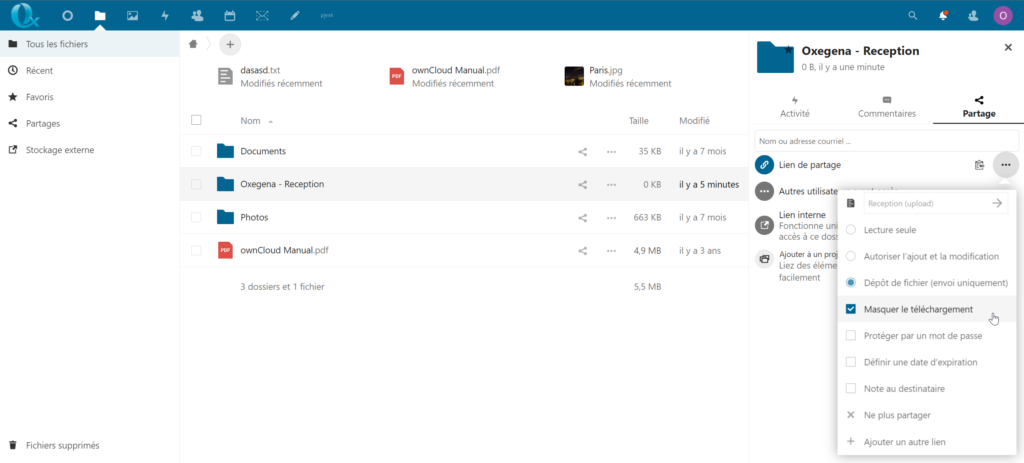
11. Then click on the properties of the sharing link, define a label for the sharing (“Reception (Upload)” in this example) and select the following options:
– File submission (sending only)
– Hide Download
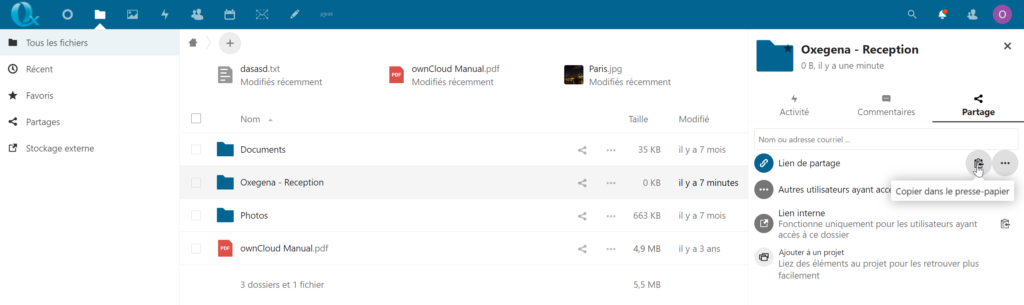
12. Then click on the icon to copy the link to the clipboard
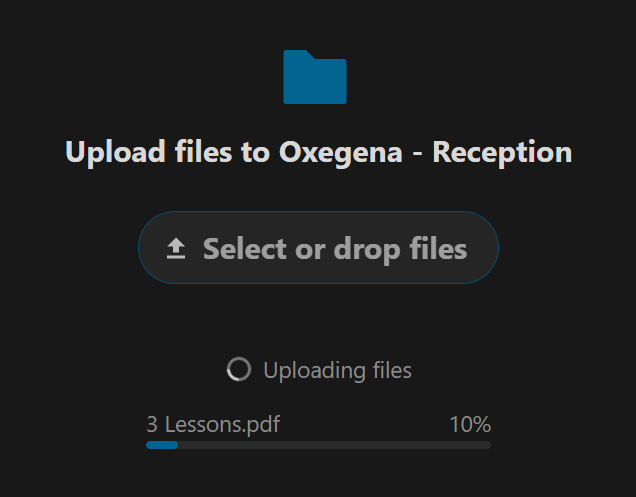
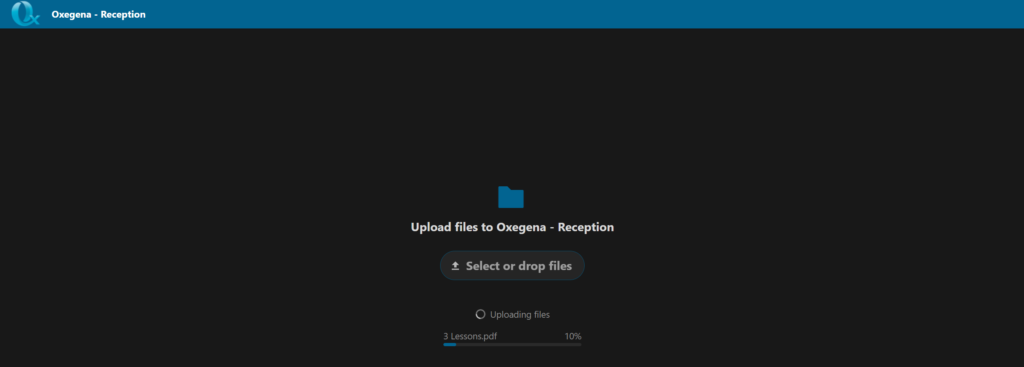
13. You can now share this link with your contacts. When your contacts arrive at the shared address, they will see the following screen inviting them to upload a file, without having to be logged in.
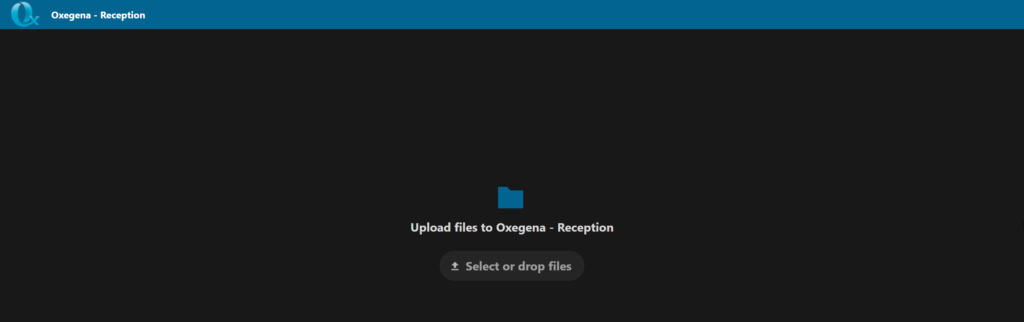
14. When your contacts upload a file by clicking the upload button or by dragging and dropping a file into the upload window, they will see an upload progress bar.
15. Once the file is uploaded, it will appear in your folder created at pt. 8 of this example.
There are many other sharing options, including an expiration date or an additional password. Discover the Nextcloud user guide for all features.
A little too technical? Contact us, We would be delighted to help you.